iOS/PC2020/10/29
Notification of new feature addition [iOS Ver3.20.0 / PC Ver2.33.0]1. About security enhancement
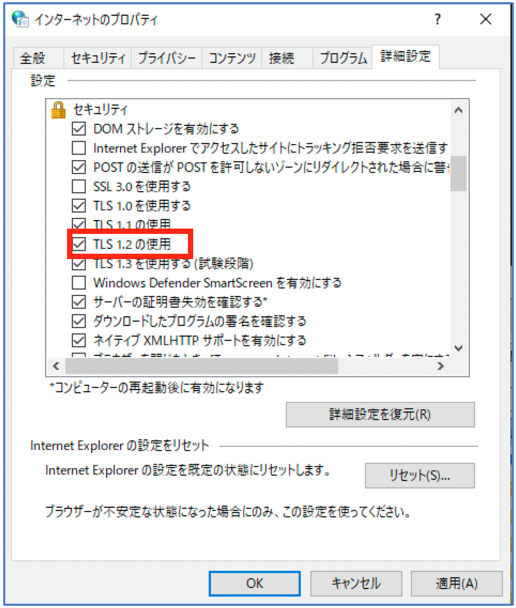
For enhanced security, connections from PC, iOS, and iPad OS clients will be TLS 1.2 or higher.
If you are using Windows and cannot connect from your PC, make sure that the use of TLS 1.2 is turned on in the Internet properties.
If it is OFF, turn it ON, close the PC client, restart it, and try logging in.
2-1. Image cropping function
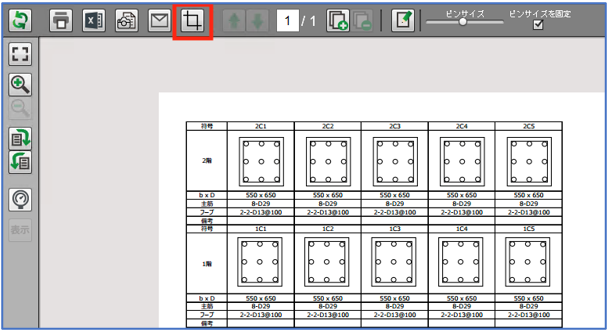
Prepare an image to be pasted on the blackboard from the drawing (bar arrangement drawing, etc.).
First, open the file and click the image crop button at the top.
* To use image cropping, you need to apply for an option.
* Image cropping is a function of the PC client only.
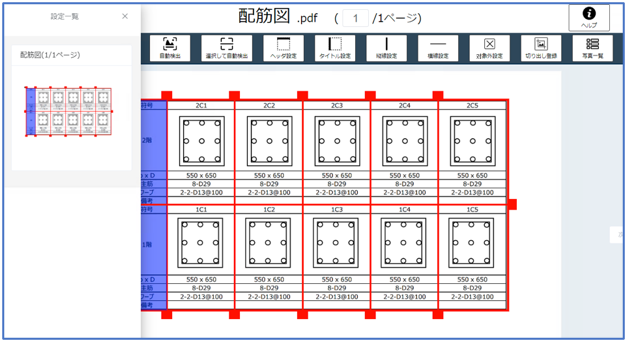
Since the WEB page opens, click the range selection button and specify the range as shown in the image below.
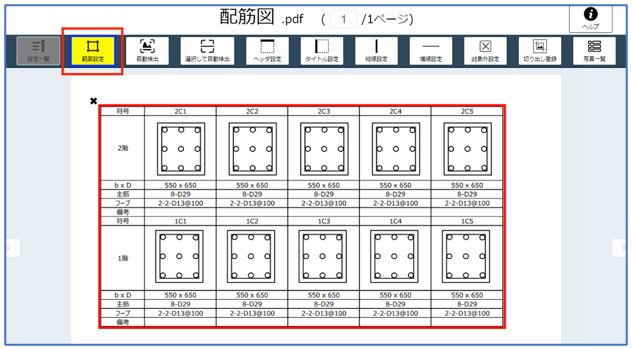
You can add a line as shown in the image below by clicking the vertical line and horizontal line buttons.
In addition, the title is set in the left first column as a repeating part.

If you click the cutout registration button, the image will be cut out as shown in the image below.
Since the title has been set, the first column on the left is combined with each image in each row.
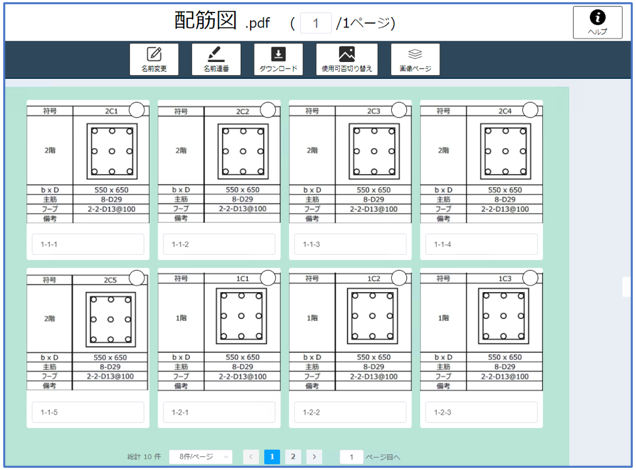
The images displayed in the photo list can be used when taking blackboard photos on iOS and iPad OS.
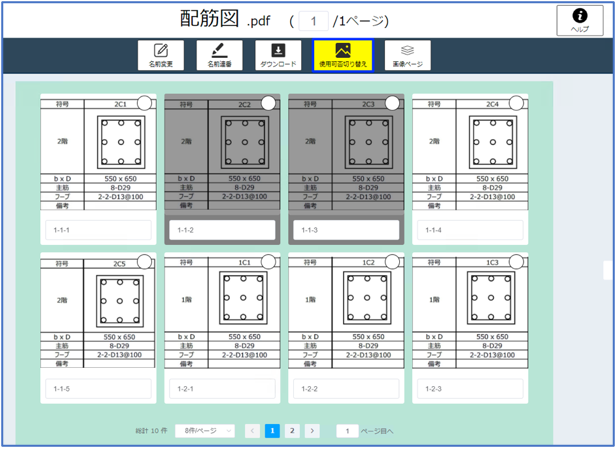
If you have an image that you do not want to use, click the enable / disable switch button.
When you select an image, it becomes gray and cannot be used.
When you return to the image page and click the setting list button on the left end, the settings selected in the range are saved.
If the next page has the same range selection, use the saved settings.
2-2. Image pasting function in the electronic blackboard
Paste the prepared image on the blackboard and take a picture.
Display the blackboard shooting screen and select a template.
If there is an item where you can paste an image after selecting a template, the item text / photo will be displayed as shown in the image below.
Also, depending on the template, the image may not be pasted.
* Blackboard photos can be used from pins, direct photos, and measurement points.
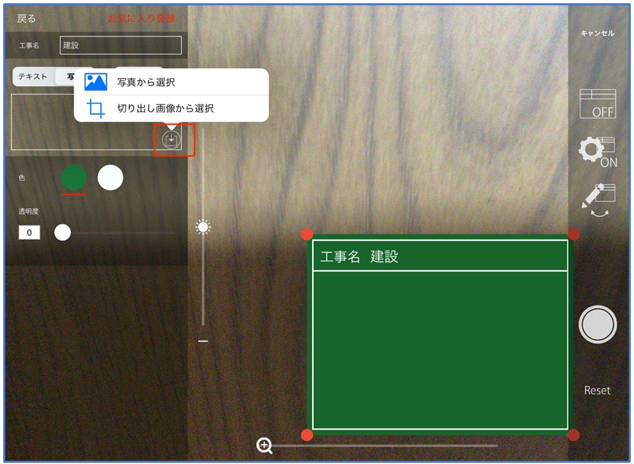
You can import images by switching to the photo item and tapping the import button.
If you select from photos, you can import the images saved in the photo app.
When selecting from the cropped image, the cropped image created above can be selected.
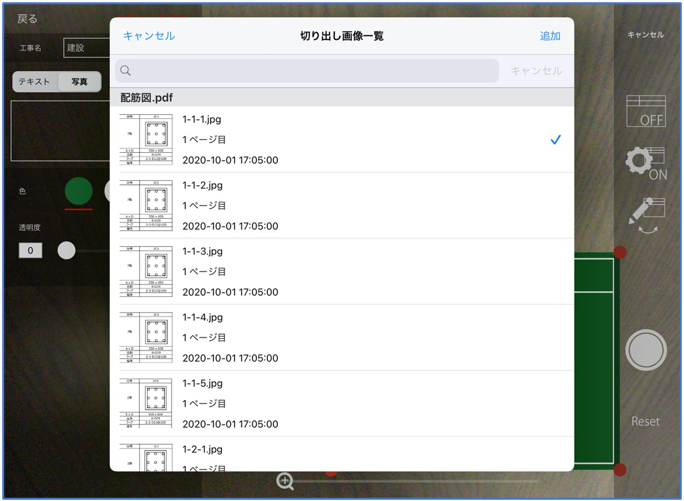
If you select a cropped image, the following screen will be displayed.
Please select the image you need.
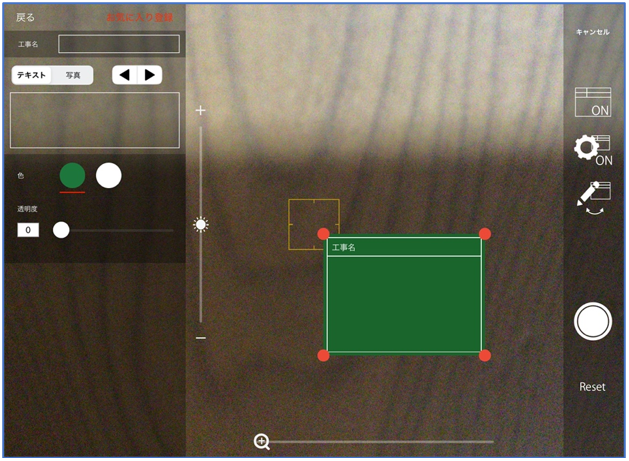
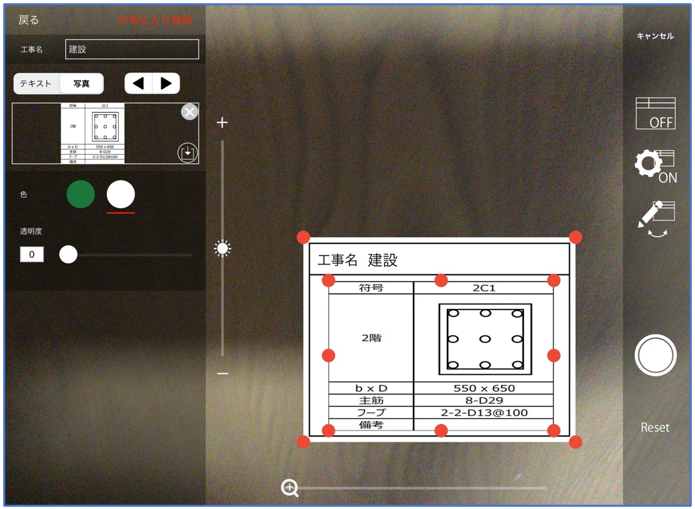
After selecting, change the contents of the blackboard and the image position, and shoot.
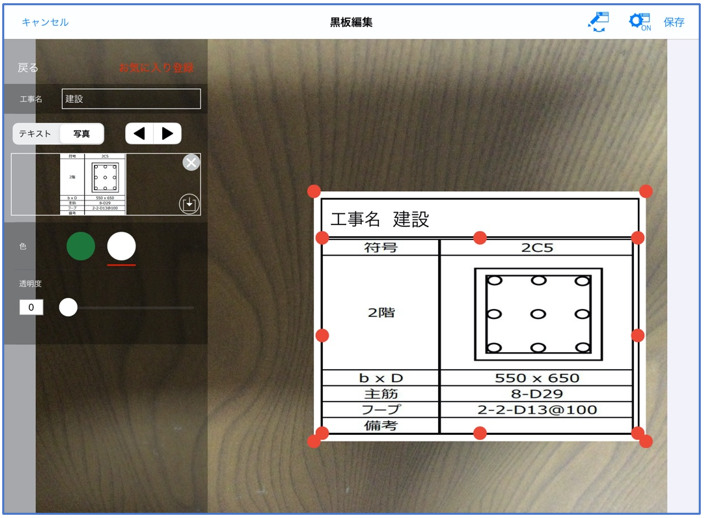
The image on the blackboard can be edited on the editing screen.
* Blackboard photos can be used from pins, direct photos, and measurement points.
3. About the album function
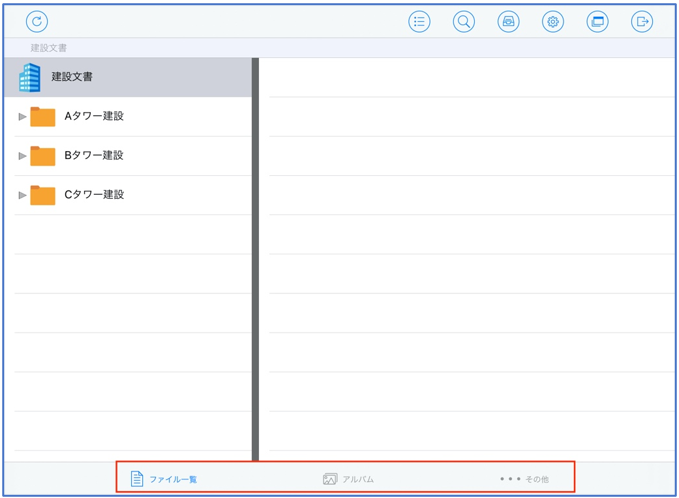
3-1. Change the tab display contents of iOS and iPad OS
With the addition of the album function, the tab contents after login have changed.
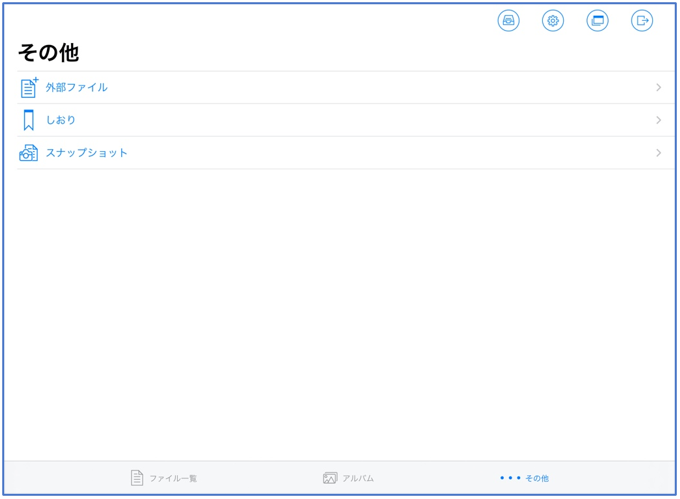
External files, bookmarks, and snapshots are organized in the Other tab.
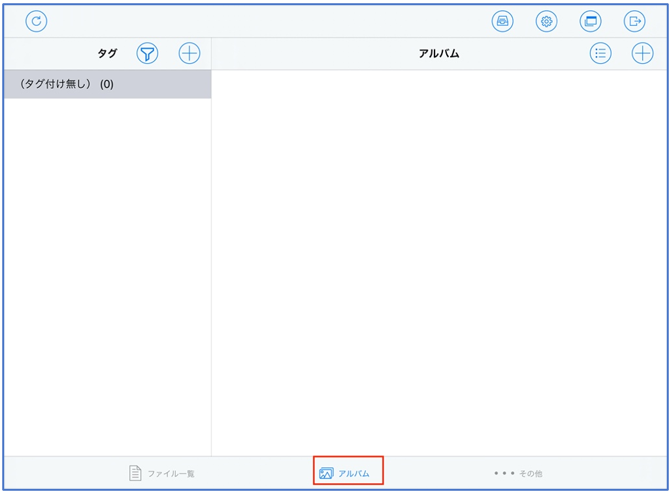
3-2. Creating an album
Album is a function that allows you to easily create a photo book.
First, tap the album tab.
* Album creation is a function only for iOS and iPad OS.
You can create a tag by tapping the add tag button.
It is convenient to create tags such as important and 〇〇 construction if necessary for organizing.
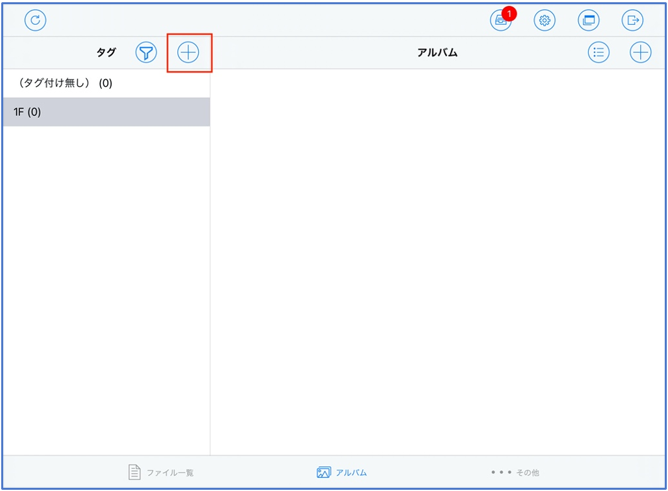
You can create an album by tapping the + button on the upper right and entering the album name in the dialog.

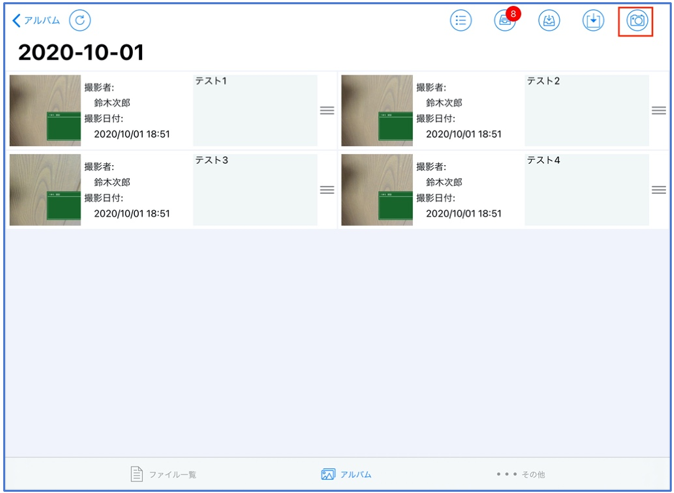
Tap an album to switch to the album photo addition screen.
You can take a photo by tapping the shooting button on the upper right.
After shooting, photos will be added as shown below, and you will be able to add comments.
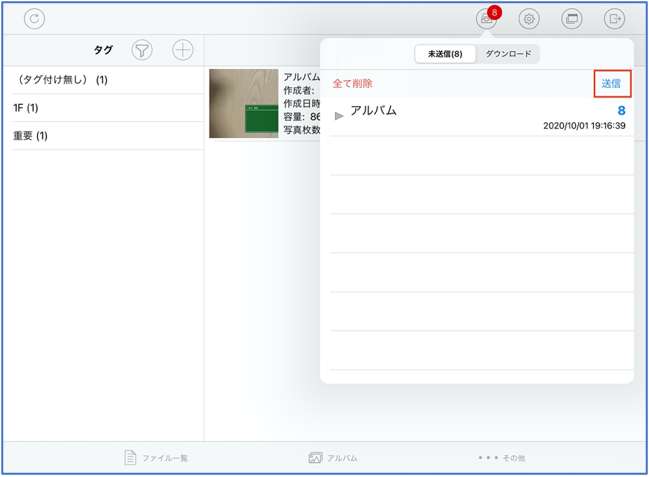
After creating the album, please send the unsent information to the server.
You can output the photo book with a PC client.
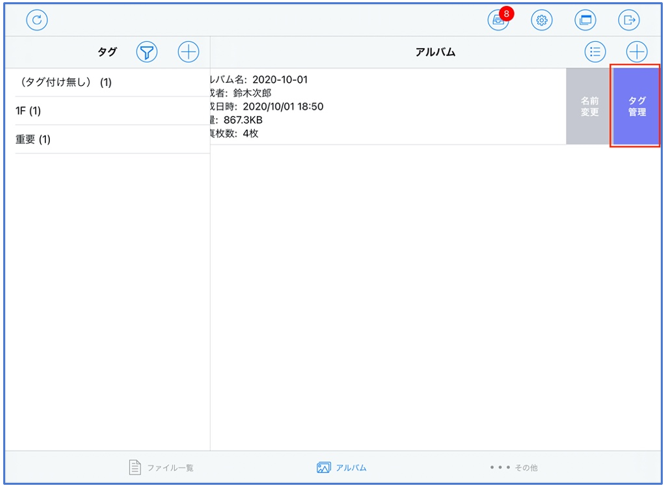
Swipe the target album to display the rename and tag management.
Multiple tags can be linked to one album.
3-3. Photo book output
Create a photo book from photos taken with iOS and iPad OS.
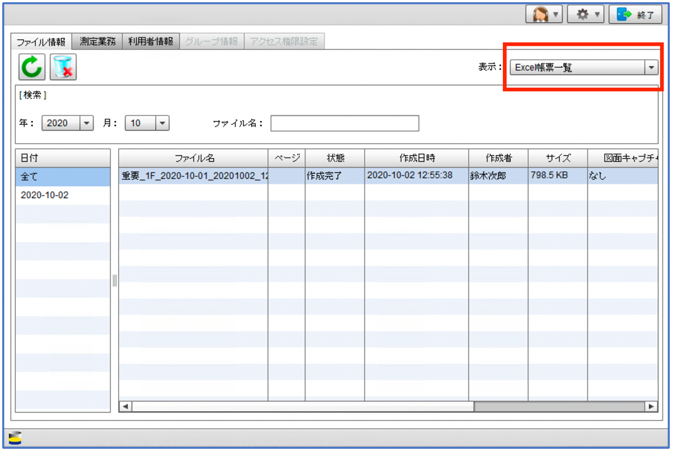
Switch the display to album information after logging in.
* Photobook output is possible only on a PC.
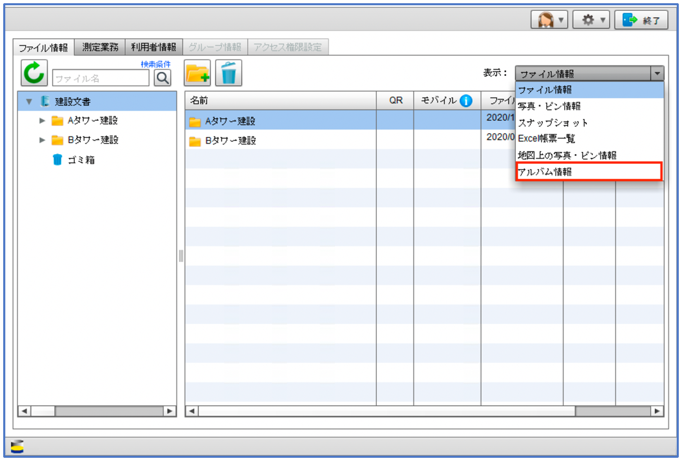
When the album is displayed, the albums added on iOS and iPad OS will be displayed.
Click the Excel button.
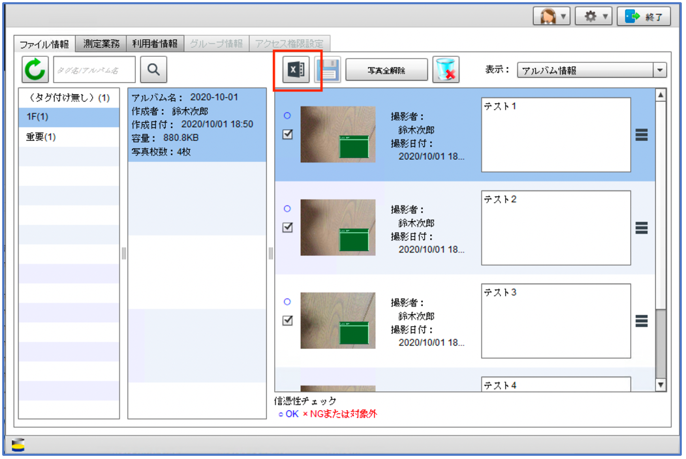
The screen will switch to the output screen as shown in the image below.
Select the photo you want to output.
If you want to change the layout of the photo book, click the layout button.

The screen will switch to the layout selection screen as shown in the image below.
Change the layout, the format of the photo shoot date, etc., and click the create button.

After the creation is completed, a photo book like the image below will be created.
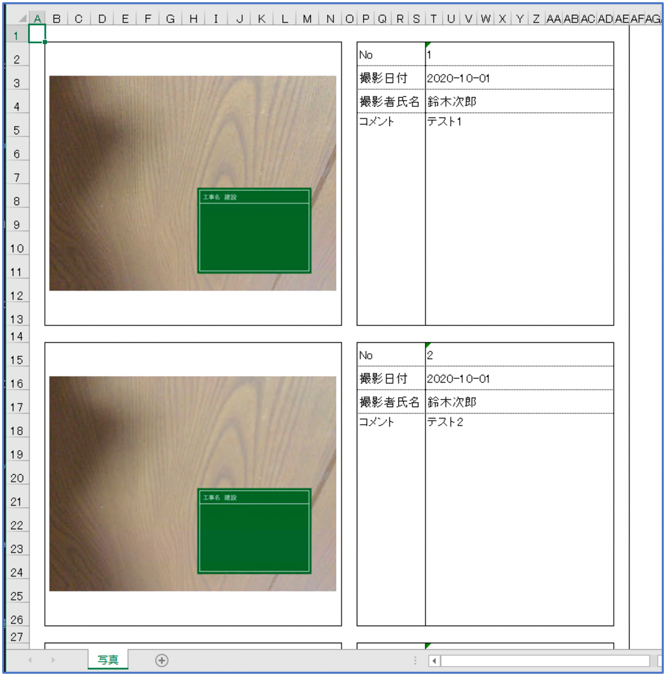
You can download the photo book from the Excel form list.